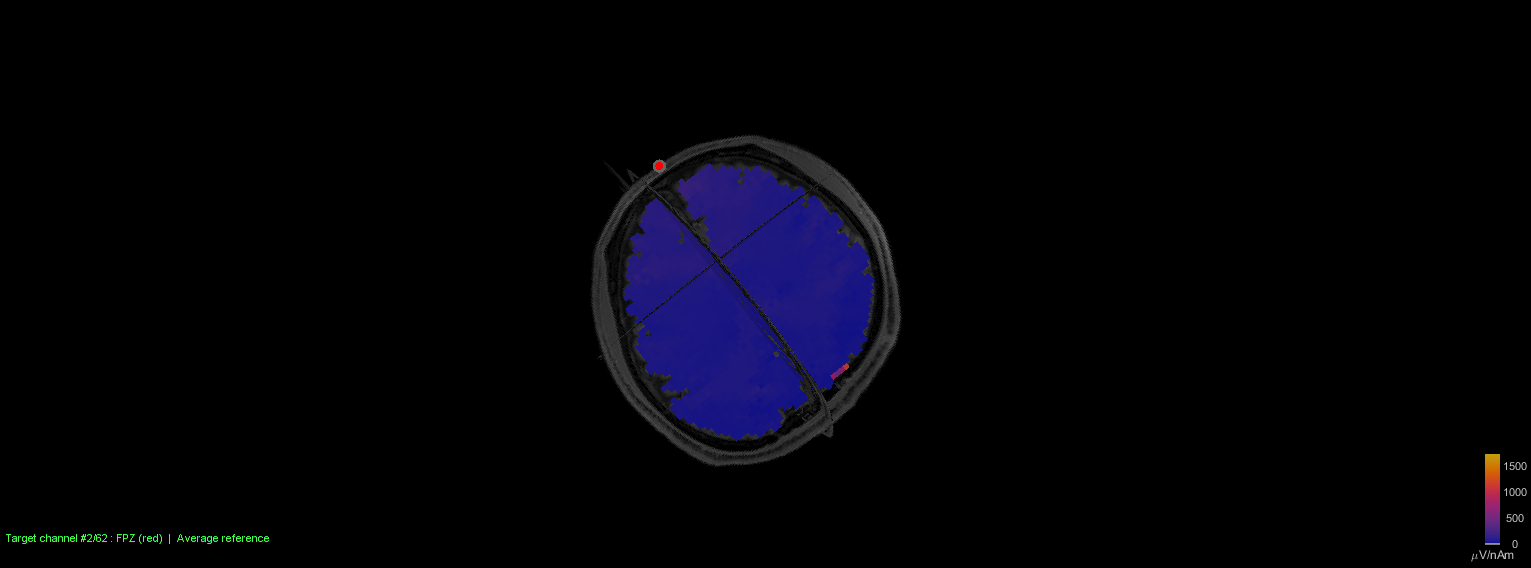
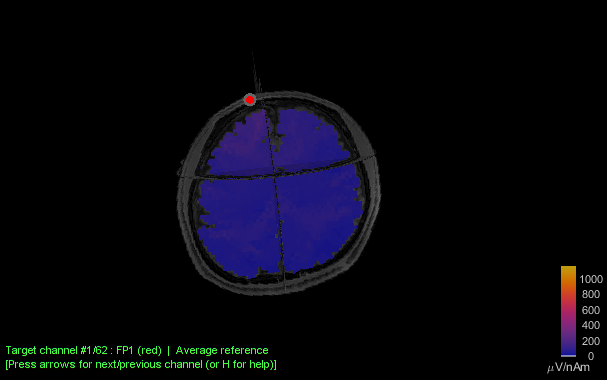
It appears that four voxels in the occipital region have abnormally high values, which I believe indicates an error leading to incorrect calculations.
If I apply an EEG leadfield exclusion zone of about 20 mm, those voxels are removed from the leadfield, but several additional marginal cortical voxels are also removed.
I’d appreciate any suggestions on which part of my pipeline might require modifications or if there are alternative solutions.
Thank you!
It's great to hear that you were able to reproduce most of the steps with your data.
Regarding the exclusion zone, it is mainly recommended for iEEG cases.
However, you can still use it for EEG—especially if you're working with high-density EEG data, as this ensures a more homogeneous exclusion zone around brain areas.
Another possible solution is to try a different FEM source model. In the Duneuro FEM panel, I assume you selected the Venant option; you could try switching to the Partial Integration method and check whether the lead field becomes more stable.
You can also experiment with the definition of the source space. For instance, you can generate a smaller cortex envelope and use it to define a new volume source space grid.
To do this: [check the attached video]
In the Anatomy panel, right-click on the cortex file → select Copy (Ctrl+C), then Paste (Ctrl+V).
Right-click on the new cortex copy and choose Align Manually on..., then select the original cortex file.
A panel will appear, allowing you to manipulate the cortex surface. Use the Resize option to make it slightly smaller (with right click of the mouse), and then move it slightly on +Z direction.
Once satisfied with the results, save the changes [ DO NOT APPLY ALL SURFACE ==> click NO] and use this new cortex as the default before starting the process to generate the new volume grid.
By the way, @Raymundo.Cassani, it would be great to have a "Duplicate" option when right-clicking on a node. That could be very useful for both anatomical and functional items.
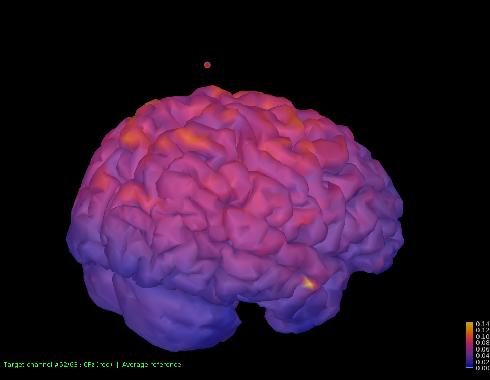
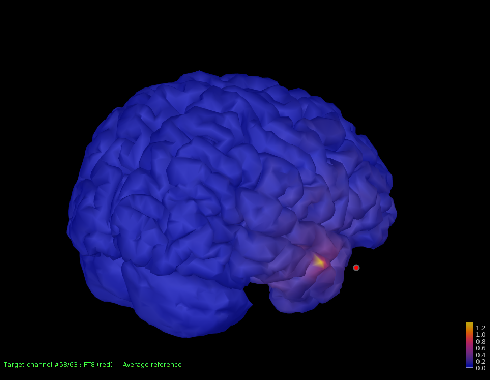
I computed EEG FEM headmodels with DUNEuro for 20 participants, and all of them show clear outliers in the leadfield sensitivity map. These outliers heavily bias my downstream analyses.
The location of the outliers varies across subjects and does not seem to correlate with areas where cortex might be outside the inner skull. I checked this based on the discussion here:
Is there a recommended / simple way to handle or prevent these outliers ?
If not, I was considering taking the top 10 highest-sensitivity sources for instance and replace them by interpolated values from neighboring sources. However, in several subjects there are kind of a cluster of 5-6 sources outliers, so I am not sure whether this approach is valid or advisable.
Any advice or best practices would be greatly appreciated.
Indeed, those appear to be some outliers, mainly due to the mesh resolution around these source points.
We don't have a clear way to brainstorm handling these issues. If you can identify these points, you can simply remove their LF and replace it with an interpolation of the neighbors.
The other possible option is to try to recompute the LF using another source model (switch between St. Venant and Partial integration), and check the LF.