|
Size: 3323
Comment:
|
Size: 3362
Comment:
|
| Deletions are marked like this. | Additions are marked like this. |
| Line 33: | Line 33: |
| === Pre-scanning setup (best practices) === 1. |
=== Pre-scanning setup === 1. '''Depth Camera exposure''': 2. '''Scan Settings''': |
Digitize EEG sensor locations and head shape using 3D Scanners (UNDER CONSTRUCTION)
Authors: Yash Shashanka Vakilna, Wayne Mead, Anand Joshi, Chinmay Chinara, Takfarinas Medani, Raymundo Cassani
Contents
Background
EEG allows the monitoring and recording of electrical brain activity from multiple electrodes placed on the scalp. EEG-based cortical current density mapping requires accurate knowledge of the locations of the electrodes on the scalp. The number and placement of electrodes vary from a few to high-density models with hundreds of electrodes. Researchers and clinicians have developed some solutions for precise electrode localization. The most common approach uses an electromagnetic digitizer (e.g. Polhemus). However, these methods are typically not easy to use, require skilled technicians, and the procedures are time-consuming and subject to errors.
This study presents Revopoint, an affordable and advanced 3D scanner that uses structured light approach for mapping the scalp surface and automatically identifying each electrode's 3D location and label.
The Hardware
Revopoint hardware package comes with the 3D Scanner with tripod and a USB to USB-C cable.
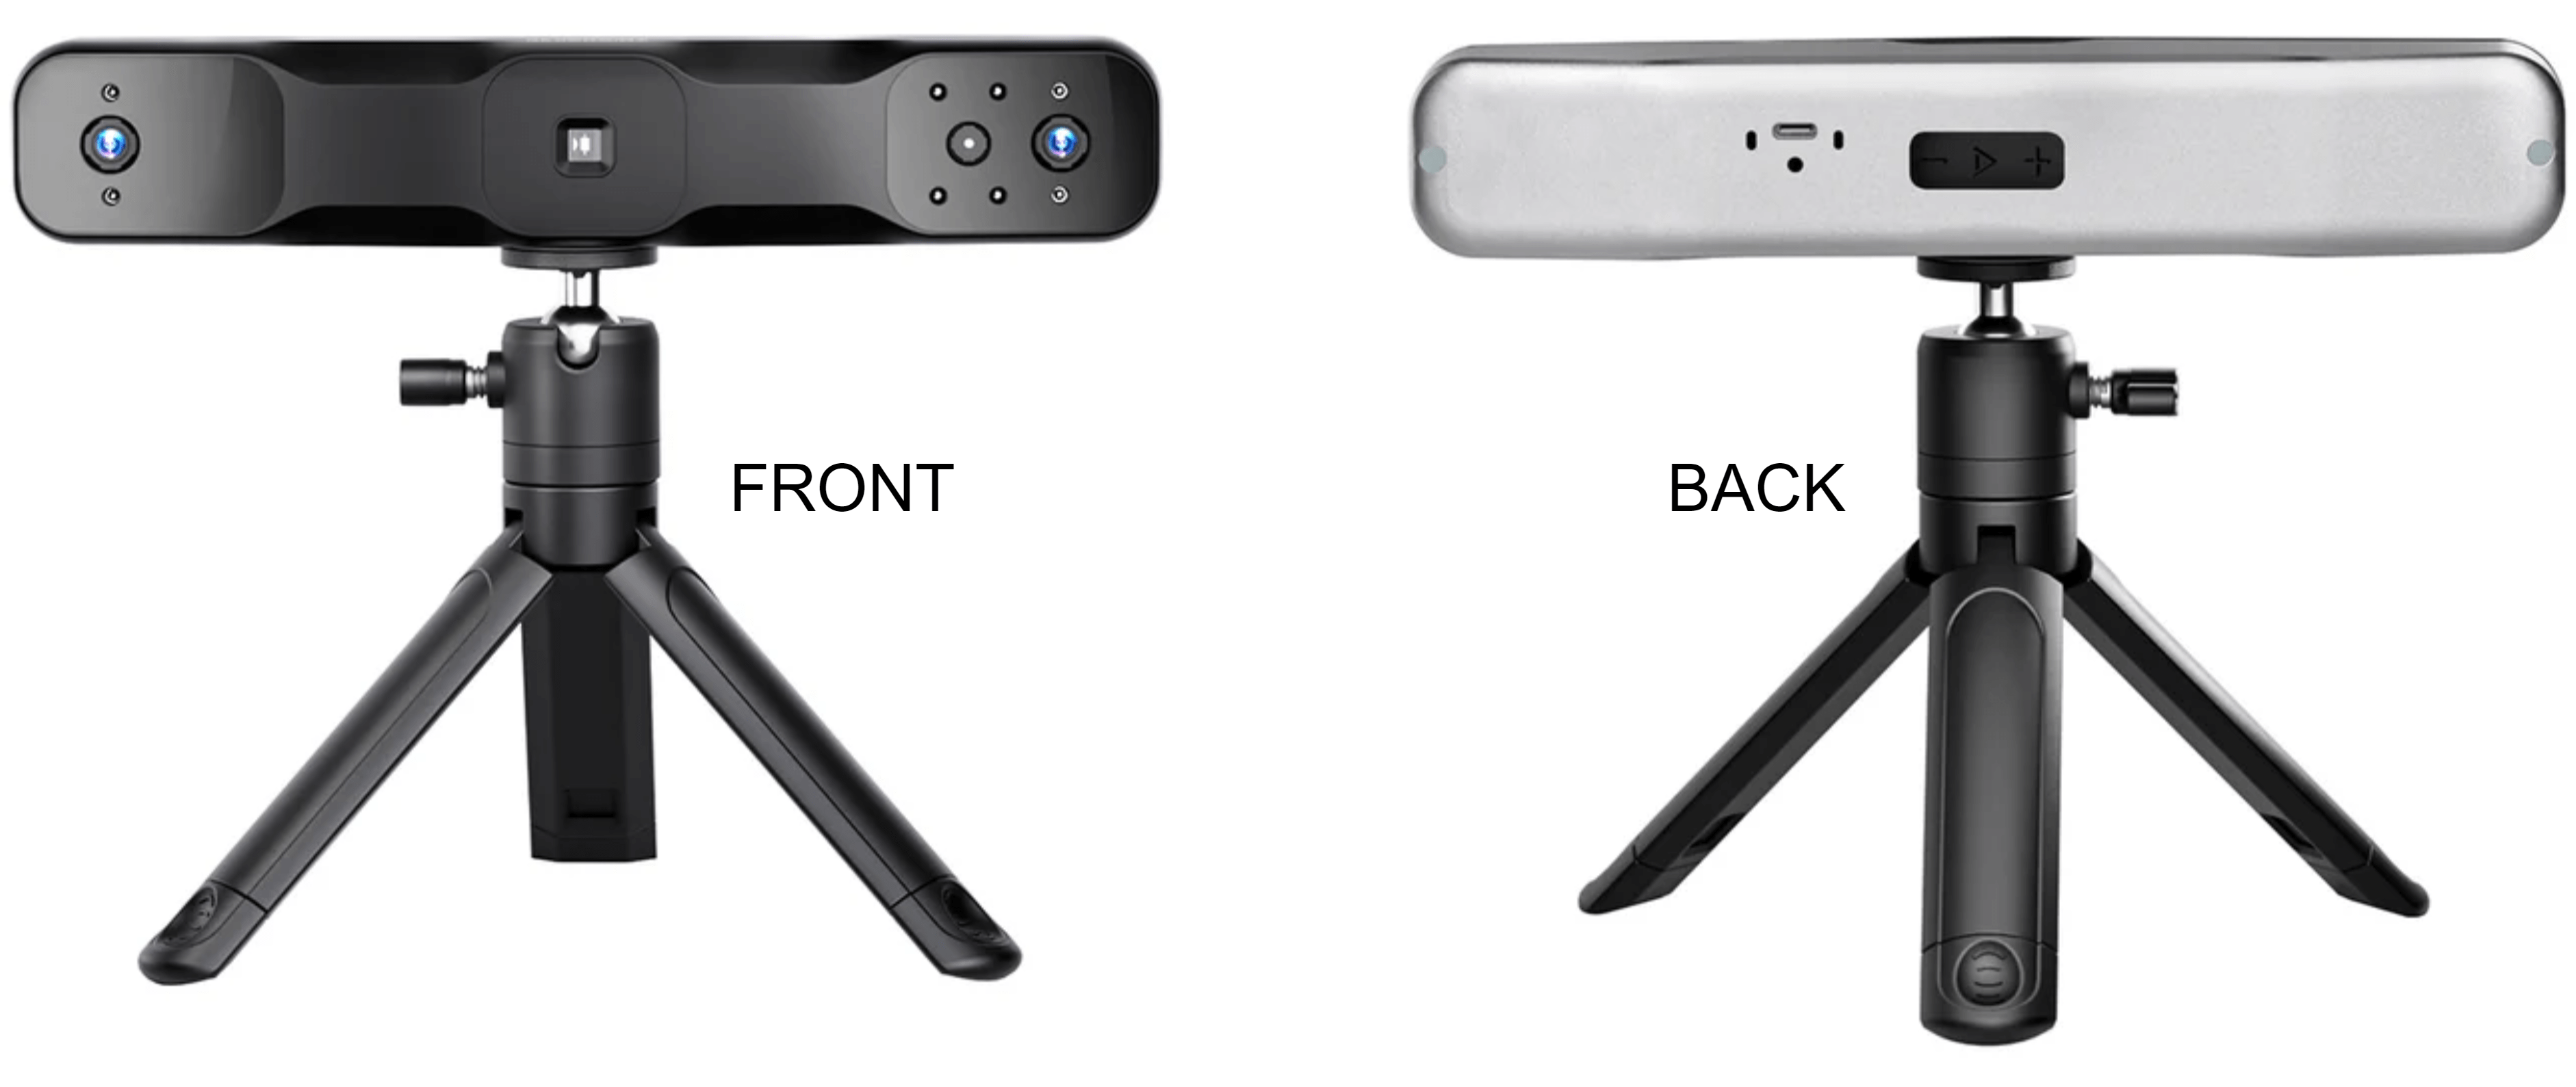
<TODO: more about the hardware>
System requirements
- Windows: Windows 10/11 (64-bit)
- RAM: 8 GB or better
- Processor: Intel Core i5 10th Generation or better
- Mac OS X: 10.7+
Revo Scan software
Revopoint uses the Revo Scan software to do the scanning of a subject wearing EEG cap and generate a 3D mesh. This mesh can then be imported into Brainstorm to automatically detect and label the electrodes in it.
Installation
Download the software from their webpage based on your Operating System (OS).
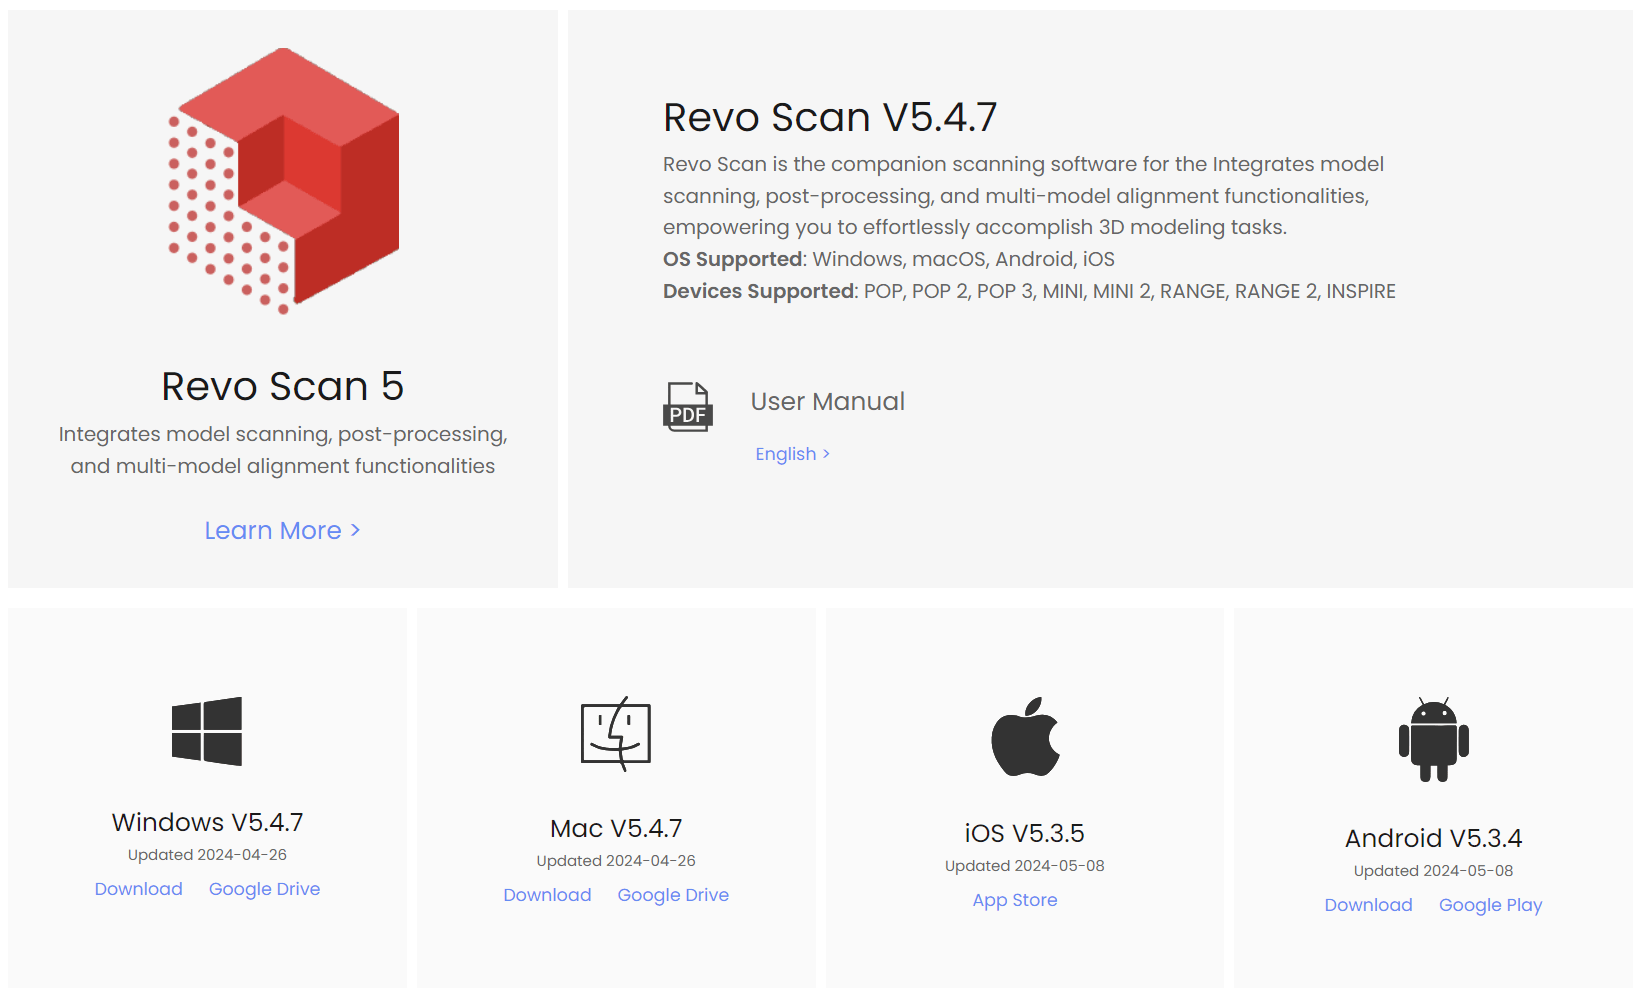
Install it by keeping the defaults. After it has finished installing click on Complete.
![[ATTACH] [ATTACH]](/moin_static1911/brainstorm1/img/attach.png)
Start new project
Connect the 3D scanner to your PC and launch the RevoScan software. It will take few seconds to initialize and show Scanner Connected as under.
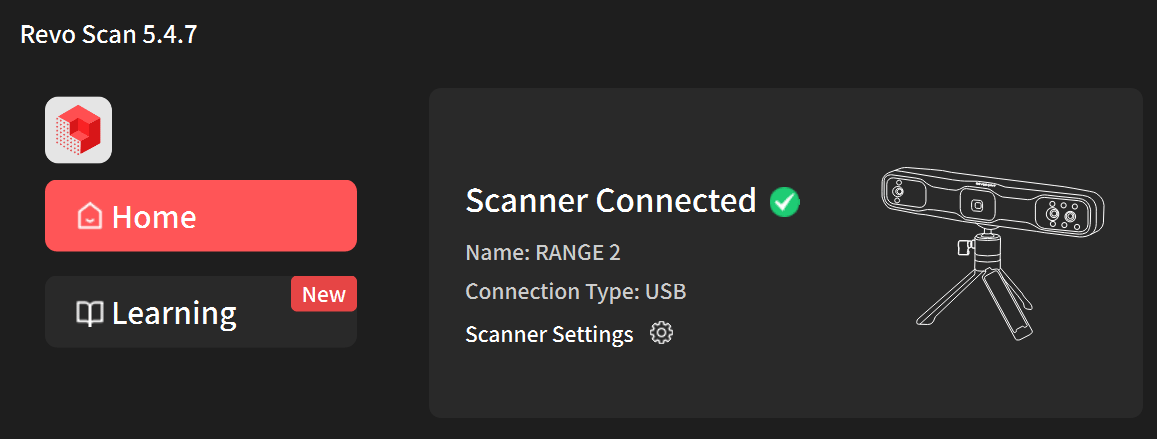
- If you are connecting it for the first time, it might ask for calibration of the device which is a very essential step. Calibrating a Revopoint 3D scanner resets its internal parameters to ensure accurate scanning data and alignment. Follow the onscreen steps and prompts to complete the calibration.
Click on New Project and give it a File Name and Location. Click New.
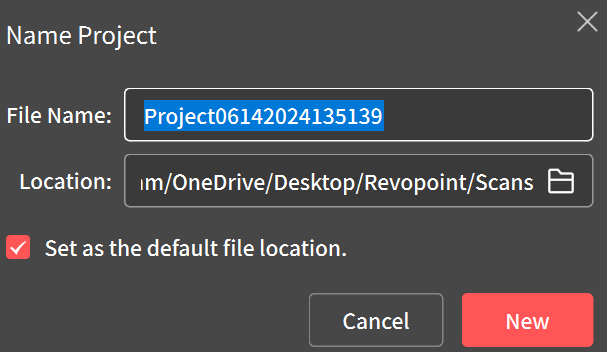
This should now take you to the scanning window.
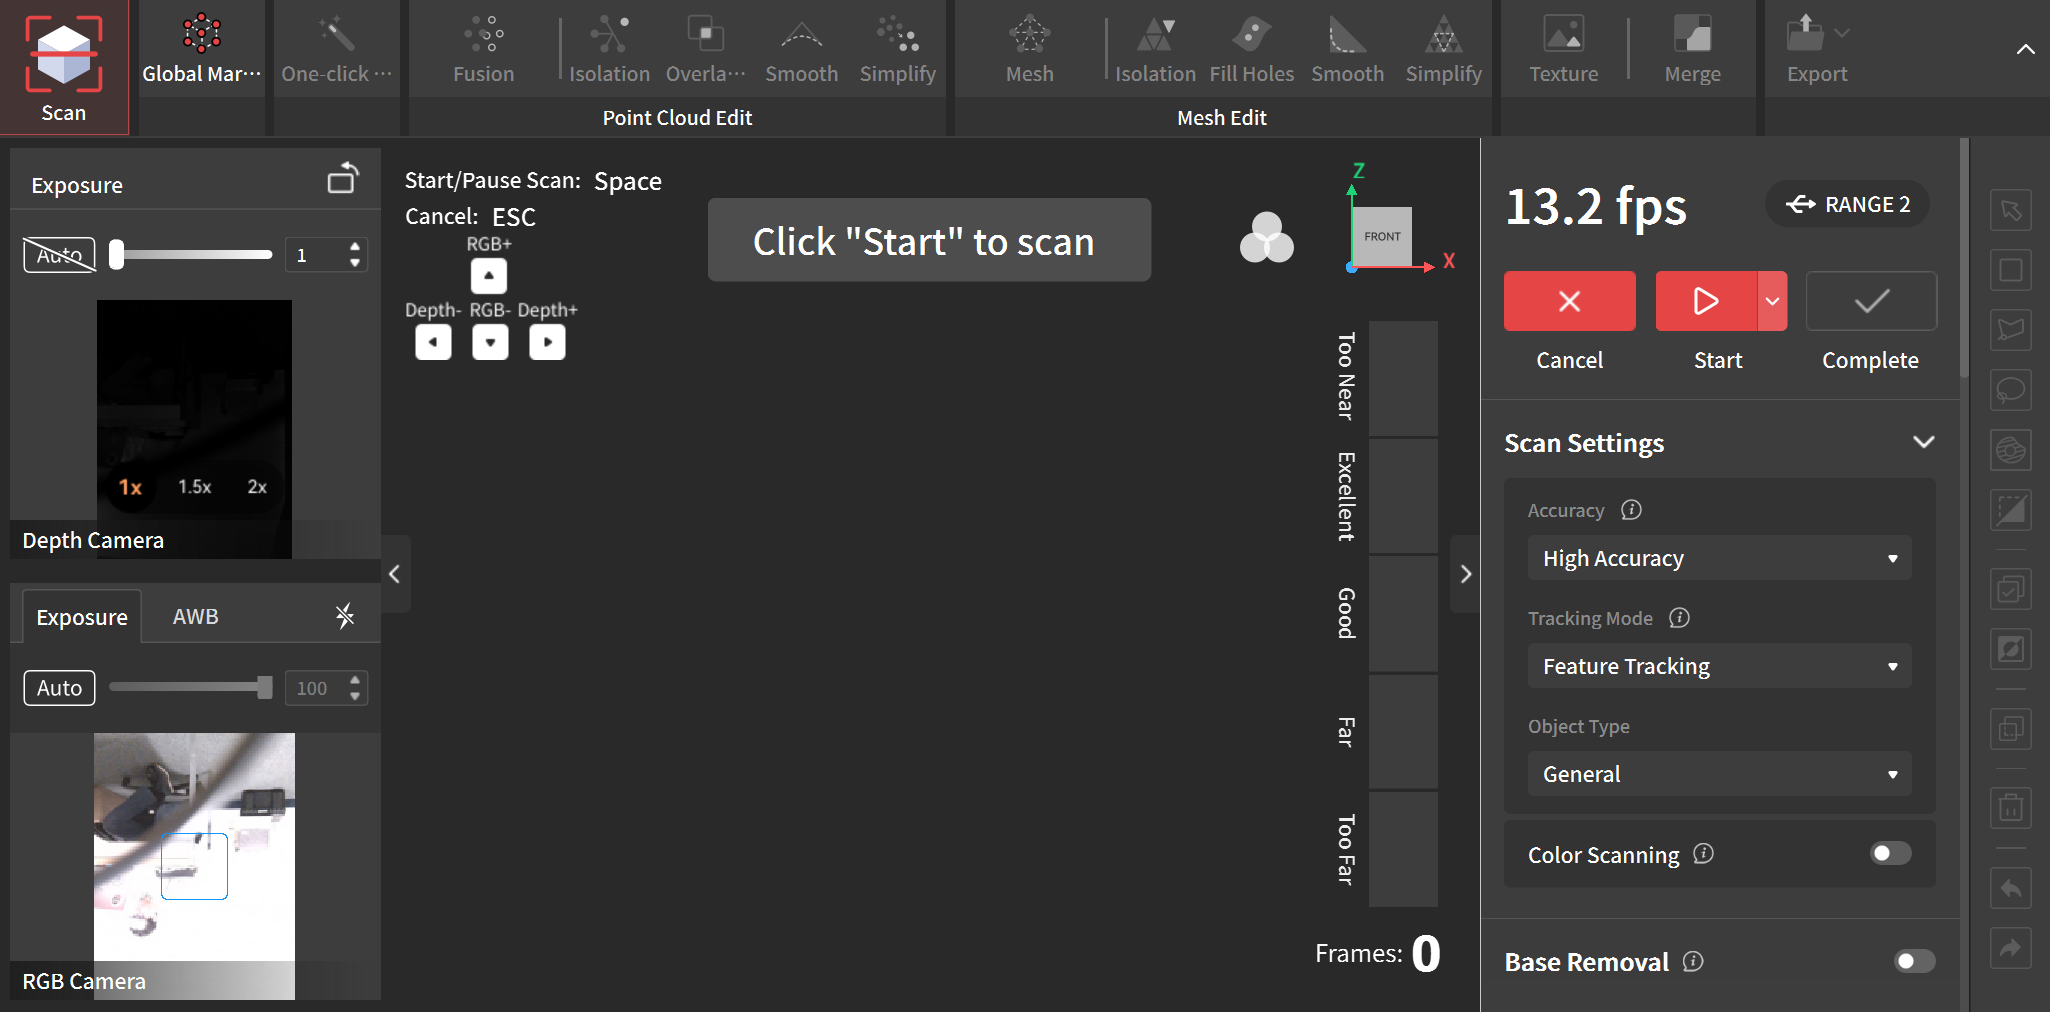
Pre-scanning setup
Depth Camera exposure:
Scan Settings:
Scanning
Saving and exporting
Digitize using Revopoint GUI in Brainstorm
<TODO>
Automated process
<TODO>
