|
Size: 1377
Comment:
|
Size: 1565
Comment:
|
| Deletions are marked like this. | Additions are marked like this. |
| Line 14: | Line 14: |
| * '''3D sensor cap''': <<BR>><<BR>> {{attachment:data3Dcap.gif}} * 2D sensor cap: <<BR>><<BR>> {{attachment:data2Dcap.gif}} * 2D disc: <<BR>><<BR>> {{attachment:data2Ddisc.gif}} * 2D layout: <<BR>><<BR>> {{attachment:data2Dlayout.gif}} |
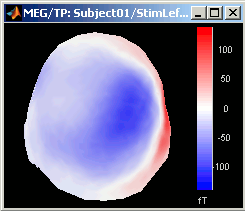
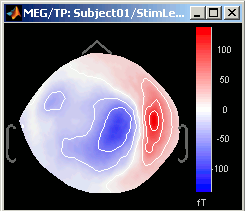
* '''3D sensor cap, ''''''2D sensor cap, 2D disc''': The recordings at a given time instant and interpolated over a 2D or 3D surface <<BR>><<BR>> {{attachment:data3Dcap.gif}} {{attachment:data2Dcap.gif}} {{attachment:data2Ddisc.gif}} |
| Line 19: | Line 16: |
| * '''2D layout''': The time course of each channel is drown at the actual position of the electrode, projected in 2D the same way as ''2D sensor cap'' <<BR>><<BR>> {{attachment:data2Dlayout.gif}} |
Tutorial: Explore the recordings
This tutorial is based on the TutorialCTF protocol, and will show you how to explore efficiently the sensory response to an electric stimulation of the fingers. The two previous tutorials explain how to create this tutorial and describe the data that are used in it.
Contents
Display modes
Several display modes are available for recordings. They are all accessible with a right-click.The first three menus (MEG, Stimulation input, Video Time), represent all the different types of channels that were found in the channel file. You can check that with Channel Edit (right-click on channel file > Edit).
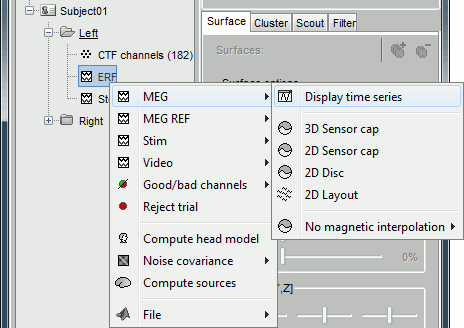
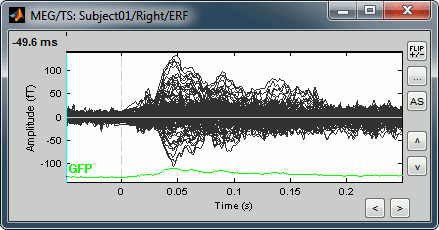
Now repeat this operation several times to display all the available modes: Display time series, 3D sensor cap, 2D sensor cap, 2D disc and 2D Layout. You should now see all the following figures.
Display time series: values over the time for all the sensors
3D sensor cap, 2D sensor cap, 2D disc: The recordings at a given time instant and interpolated over a 2D or 3D surface
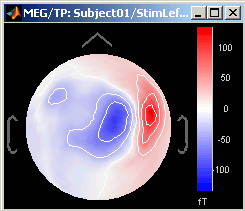
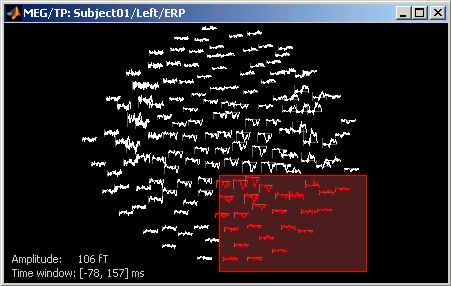
2D layout: The time course of each channel is drown at the actual position of the electrode, projected in 2D the same way as 2D sensor cap
Time exploration
Sensors selection
