T1-MRI Segmentation with BrainVISA
It is not the purpose of Brainstorm tutorials to teach you how to use BrainVISA. But most Brainstorm users are lost when it reaches to the segmentation of the MRI. So here is a short introduction of the BrainVISA T1 Pipeline.
To extract head and cortex meshes from a T1 MRI, you can also try to use: BrainSuite or ?FreeSurfer.
Installation
Download the latest version of BrainVISA from http://brain.info.
Install it on your computer by following the instructions on the download page.
- Start BrainVISA
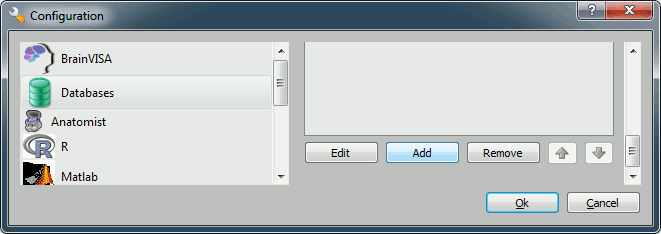
You'll have to create a database for saving your files: this will be either asked at startup, or you'll have to !BrainVISA menu > Preferences:

Click on Add, and create a directory with is not in any Brainstorm directory. For example:
Windows: My Documents\brainvisa_db\
Linux: /home/username/brainvisa_db/
- MacOS: Documents/brainvisa_db/
- Click on Ok.
- Your are ready to import and process your MRI.
Import MRI
To process a MRI volume with BrainVISA, you have first to import it in the database.
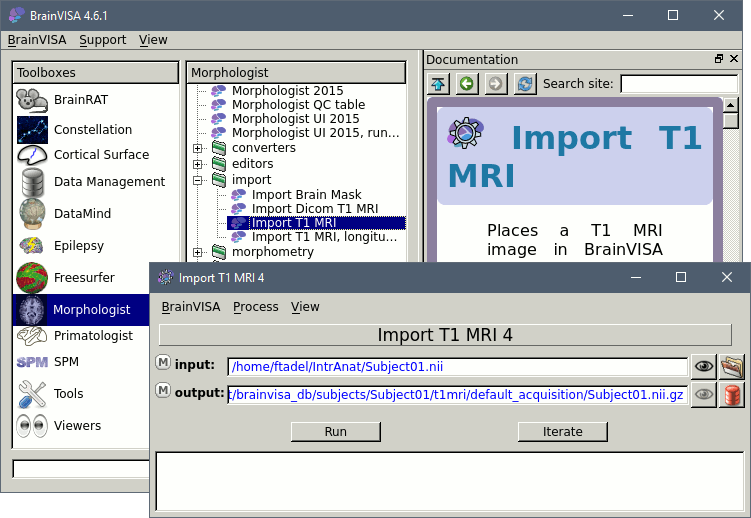
Select the process: T1-MR1 > Import > Import T1 MRI, and click on Open button.

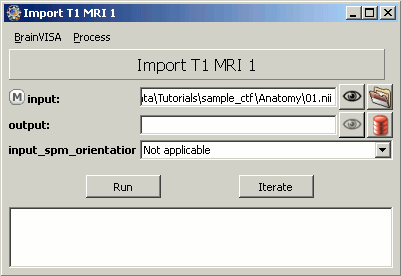
The following figure will appear:

As an example, you can take the MRI from the 4D-Neuroimaging tutorial (bst_sample_4d.zip accessible from Download section).
Select the input file.
To select the output file: Click on the red button, fill the following fields:
- Protocol: segmentation
- Subject: 4D
- A default filename should appear, and you just have to click on Ok.
Click on Run, wait for the process to end. Done. You can close this window.
